 |
|
Navigation
|
|
Front Page |
|
Forum |
|
Gallery |
|
Wiki |
 |
|
 07-06-2015, 09:27 PM
|
#1
|
|
Newborn Pup
Join Date: Jul 2015
Posts: 13
|
 Natural Habitat Projecto for a Robo
I've kicked off a project to build out a natural habitat for our Roborovski. I plan to document my progress here.
My idea is to build a 2x6 habitat enclosure and then begin building it using some craft projects to create furniture, if you will, as well as add natural features such as rocks, etc.
|

|

|
|
07-06-2015, 09:29 PM
|
#2
|
|
Newborn Pup
Join Date: Jul 2015
Posts: 13
|
Re: Natural Habitat Projecto for a Robo
Here's what is built so far. Over the weekend, I put together a lumber support frame that will hold the habit.
|
|
|
|
|
07-06-2015, 09:31 PM
|
#3
|
|
Newborn Pup
Join Date: Jul 2015
Posts: 13
|
Re: Natural Habitat Projecto for a Robo
It's currently being tasked to support IttyMouse's (our Robo) current setup.
|
|
|
|
|
07-07-2015, 03:04 AM
|
#4
|
|
Adult Hamster
Join Date: Apr 2015
Location: England
Posts: 258
|
Re: Natural Habitat Projecto for a Robo
Your project looks awesome!! I presume you're going to give it glass/ perspex or mesh sides? Really looking forward to seeing how this turns out!!!
|
|
|
|
|
07-07-2015, 09:30 PM
|
#5
|
|
Newborn Pup
Join Date: Jul 2015
Posts: 13
|
Re: Natural Habitat Projecto for a Robo
Quote:
Originally Posted by Leila0420

Your project looks awesome!! I presume you're going to give it glass/ perspex or mesh sides? Really looking forward to seeing how this turns out!!!
|
At the moment, the concept is just a 2x6x1 pine box, open at the top. I have a mind to open large windows in the front, so I'll likely back the opening with some thing clear. Acrylic is an option but pretty expensive. Float glass is cheap and I am likely to end up going that route. I've considered leaving the interior as bare pine. Even though I'm building this for a robo, I'll need to determine the climbing ability of hamsters in general, as there is the potential to re-task the habitat in two years or so. I may end up banding the top few inches with glass to create a slick surface for the hamster to not climb out over. Either that or install an eaves around the interior perimeter to accomplish the same. I'm leaning heavily towards not having any sort of cover, if I can get away with it.
|
|
|
|
|
07-25-2015, 03:28 PM
|
#6
|
|
Newborn Pup
Join Date: Jul 2015
Posts: 13
|
Re: Natural Habitat Projecto for a Robo
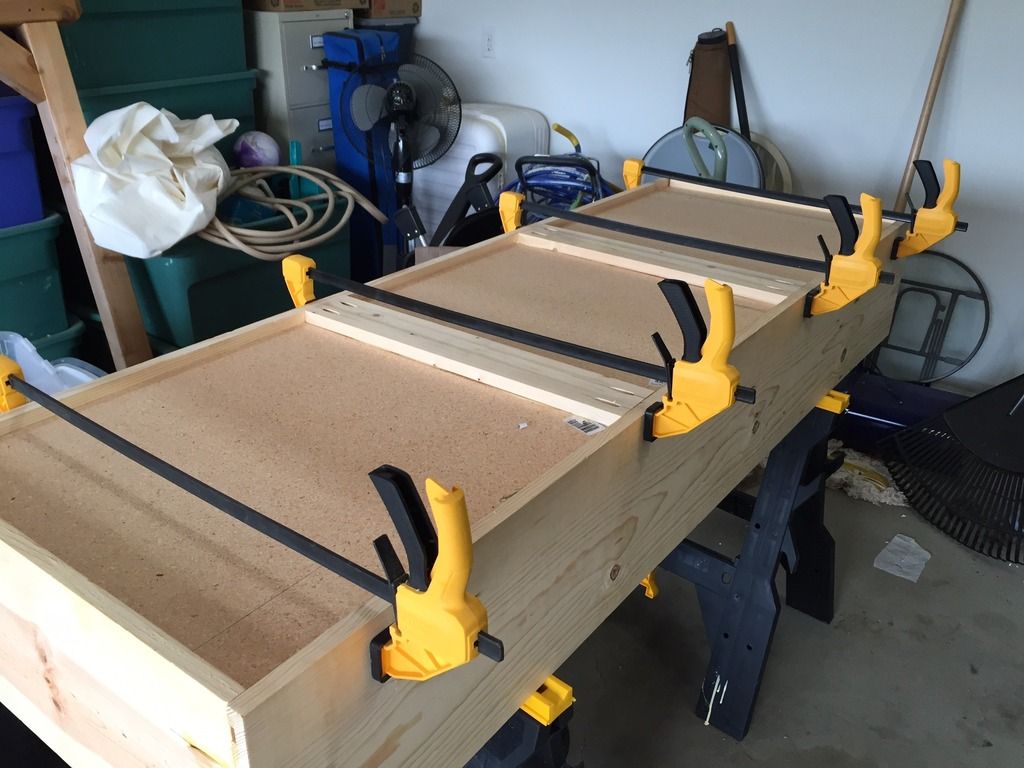
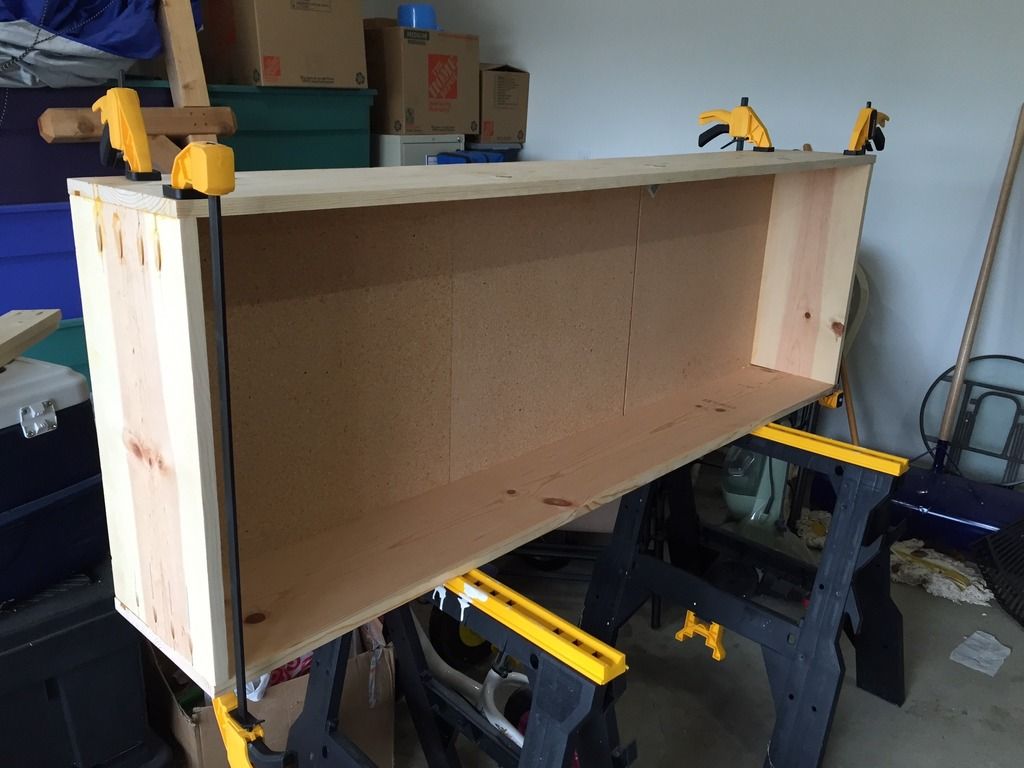
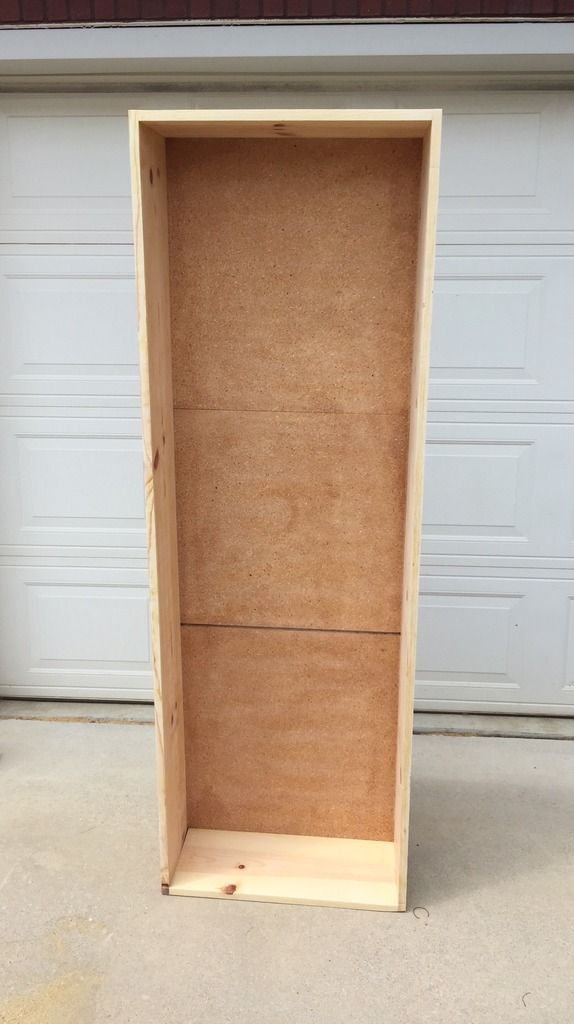
Update: Here's the box in final join:
Last edited by Robo JoJo; 07-25-2015 at 03:34 PM.
|
|
|
|
|
07-25-2015, 03:36 PM
|
#7
|
|
Newborn Pup
Join Date: Jul 2015
Posts: 13
|
Re: Natural Habitat Projecto for a Robo
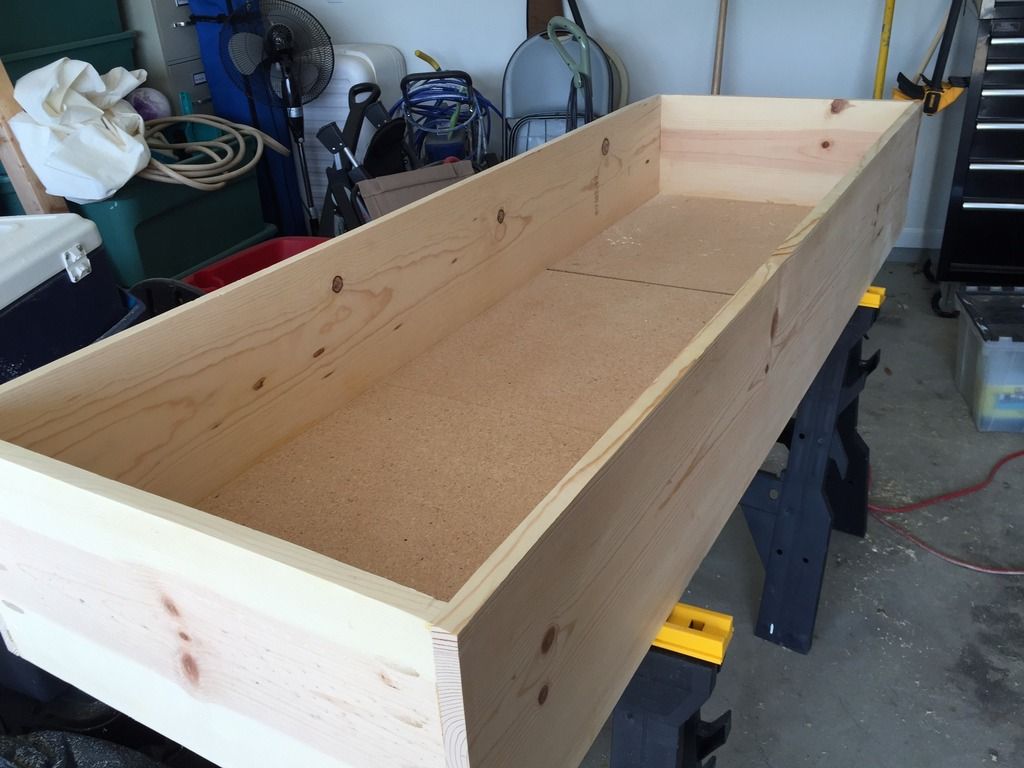
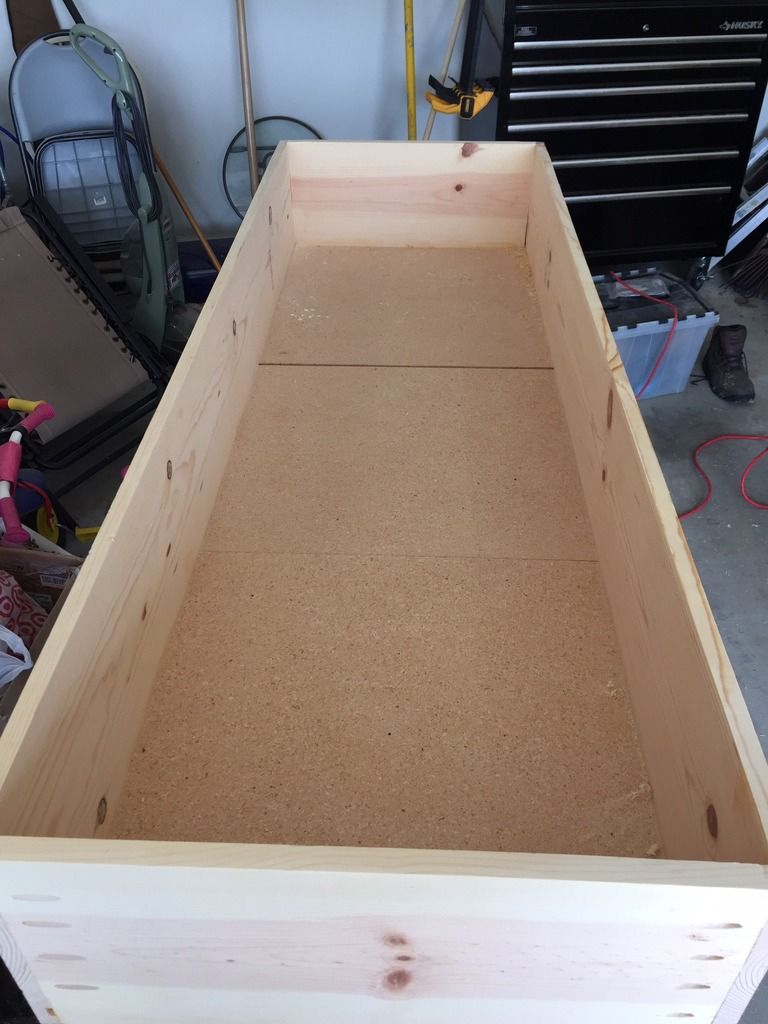
And the the completed box after it's final sanding. Waiting for a light coat of urethane. (and some attention from the shop vac)
|
|
|
|
|
07-25-2015, 03:42 PM
|
#8
|
|
Newborn Pup
Join Date: Jul 2015
Posts: 13
|
Re: Natural Habitat Projecto for a Robo
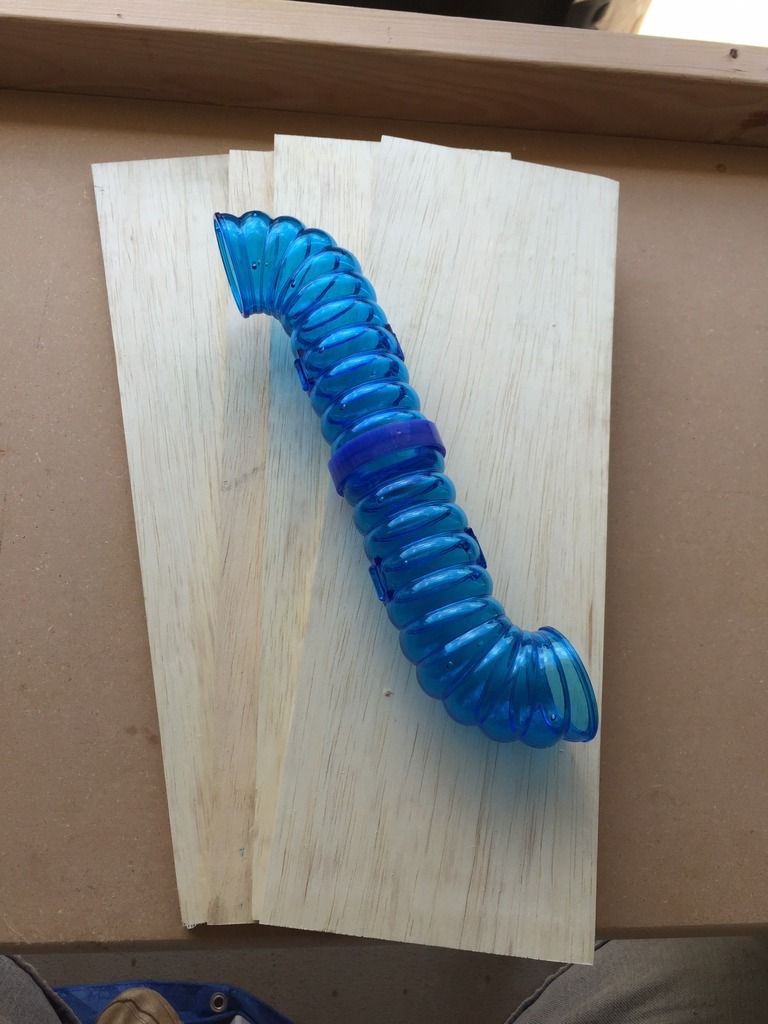
While I was joining the box and waiting for the glue to cure, I created stock for a burrowing box. These are going to be run over the router table to create a box joint.
Last edited by Robo JoJo; 07-25-2015 at 03:53 PM.
|
|
|
|
|
07-26-2015, 07:37 PM
|
#9
|
|
Newborn Pup
Join Date: Jul 2015
Posts: 13
|
Re: Natural Habitat Projecto for a Robo
Light coat of urethane, final sanding, and the box is done. Just letting it set in the garage for a couple of days for the urethane to finish curing and to out-gas.
|
|
|
|
|
07-29-2015, 10:56 AM
|
#10
|
|
Newborn Pup
Join Date: Jul 2015
Location: Scotland, UK
Posts: 33
|
Re: Natural Habitat Projecto for a Robo
Wow... am well impressed. Makes mine look small 
Look forward to seeing more!
__________________

|
|
|
|
|
|
 Posting Rules
|
You may not post new threads
You may not post replies
You may not post attachments
You may not edit your posts
HTML code is Off
|
|
|
|
Powered by vBulletin®
Copyright ©2000 - 2024, Jelsoft Enterprises Ltd.
|
All times are GMT -7. The time now is 04:55 PM.
|
|
|
|


 Linear Mode
