So.... I have had a busy week! After making out some drawings on paper to see how the cage was going to look, I soon realised that I do not have the drawing skills to do clouds and as well I remember the struggle it was to make circles with the mesh I decided against the clouds and stuck to circles. I lived with the havoc and pain once so I thought it would be worth it to do it again as I have a real thing against squares, only that they are something that hamsters can use to climb and chew... circles seem to deter this which makes life easier for all

. I took my SO to look at hammies in the pet store last Friday as the new addition is going to be my Christmas present and he challenged me to finish the cage that night and he would get me the new addition the following day.... At the end I will tell you if I did it or not
As last time I did take pictures of the entire process for you to see. The soldering iron was used again to create the circles and to add the holes for the cable ties to go through (it has this pin type piece that you can use which makes perfect circles for the ties
. As I was prepared this time I managed to escape without my hands hurting so much... maybe that is because I got the SO to cut out the mesh while he was watching TV!!! Oh the sweet life.
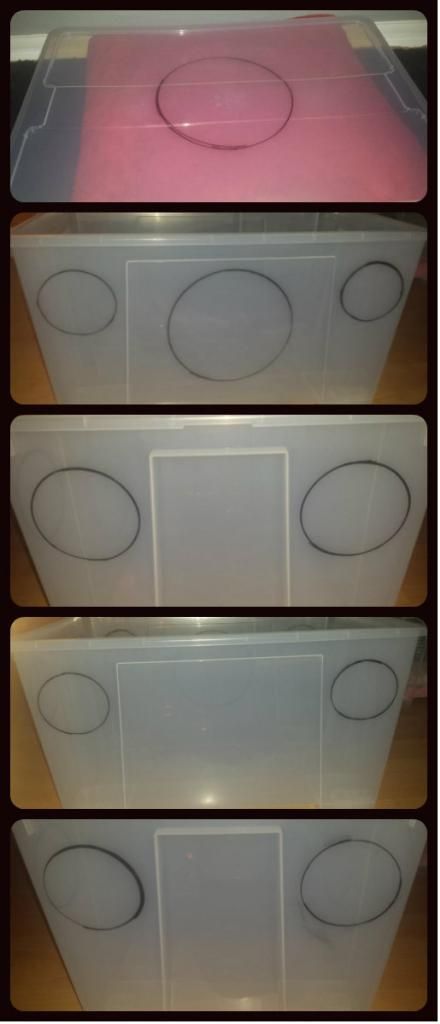
Anyway, here is the pictures when I measured out the holes, you will notice that I have only placed one hole on the lid instead of two like last time. I have two reasons for this, to be able to tell the difference between the cages (these things happen) and I found it difficult to do two last time and it seems to have made that lid weaker and with a Syrian going into the new cage I thought that all strength in the lid was going to be needed. Other than that this is pretty much the same as last time.
This time the holes were not as smooth as the first time round so I had to really exercise my arms to sand down everything to make them as injury free as possible as I attach the mesh on the outside instead of the inside of the cage so that if the new habitant wants to climb they can and I do not have to worry that they will catch themselves on the mesh.
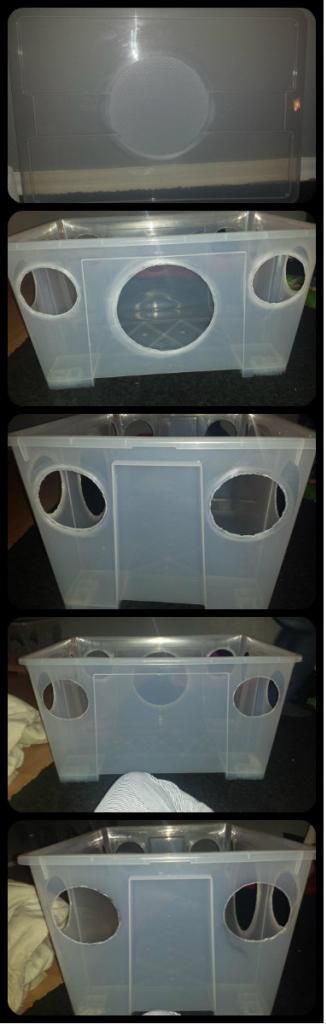
After the hard work to make them round and smooth the rest definitely was easier! Adding the mini holes is a good de-stresser as when it goes through it is like a mini victory. I forgot to add a picture of this part last time so I thought that it would be beneficial to show another way to make the holes for the cable ties

.
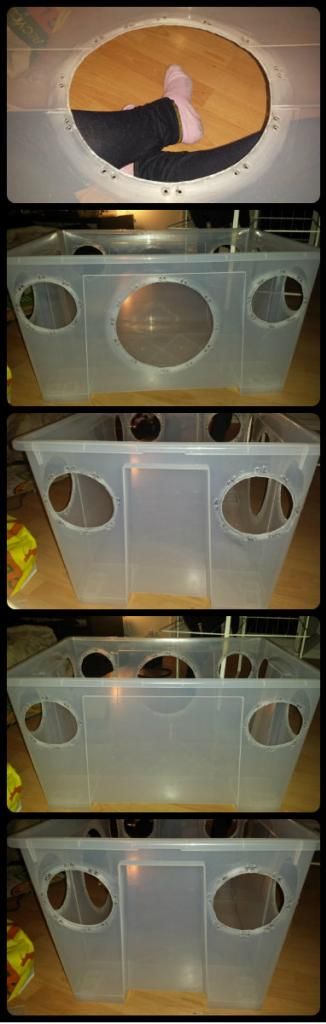
Now the mesh.... I have to thank my SO for this part as he did the cutting, I just added the cable ties and made sure that it was escape proof! This is either going to make or break you as these little pieces of mesh love to play around with you! It seemed to go well despite everything!

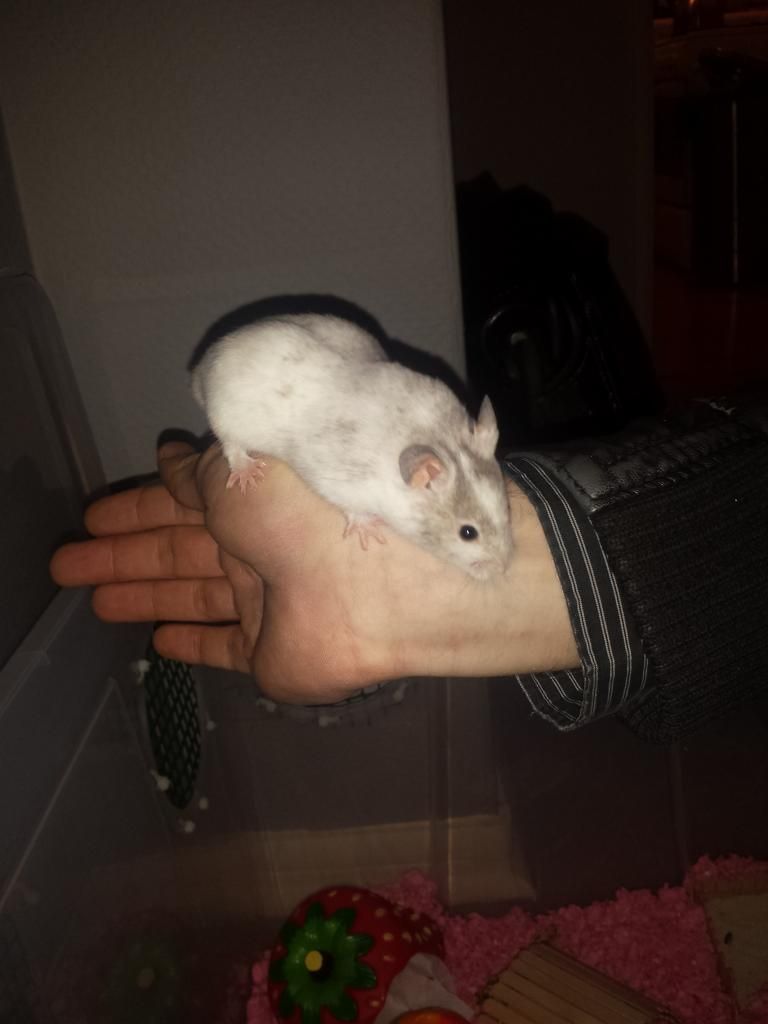
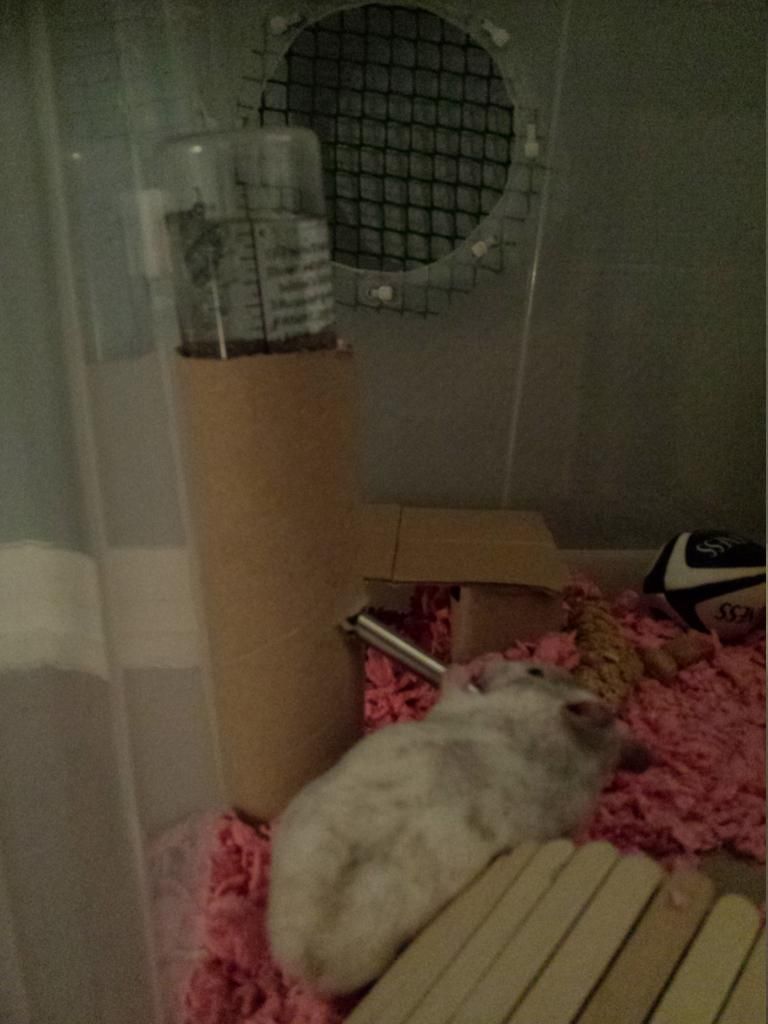
So back to the challenge....... Oh I accepted and achieved it all by 1am! After that I set it up ready for the new inhabitant.... I was surprised when I investigated around a bit that I had everything that I needed to fill the cage to begin with (the wheel is going to change as it is loud and technically our back up one that we use for playpen time and I think that I am going to try and add a secondary level at some point in the future to ensure boredom is avoided!)

So this is how I have ended up with a busy week and a new hammy in my life. I couldn't finish this post without mentioning that we have our new hammy settling in as we speak. It is a Syrian and male and we have called him Blanco. He has destroyed the cage completely and already chewed through everything that was made out of cardboard, and is a wheel lover! He is about 3 months old and seems really calm.... could be easier to tame than any hammy I have had before, only time will tell!
If you have any questions feel free to ask and I will do my best to answer!


 Linear Mode

