So here's my DIY on this unit, I've tried to explain the best I can but if anything doesn't make any sense or if you think I've missed anything out then please let me know.
As a lot of you will know, the Kallax/Expedit shelving unit from Ikea is becoming popular with hacks relating to hamster cages. I would just like to share my DIY of this hack in hope to maybe help others that want to pursue this project.
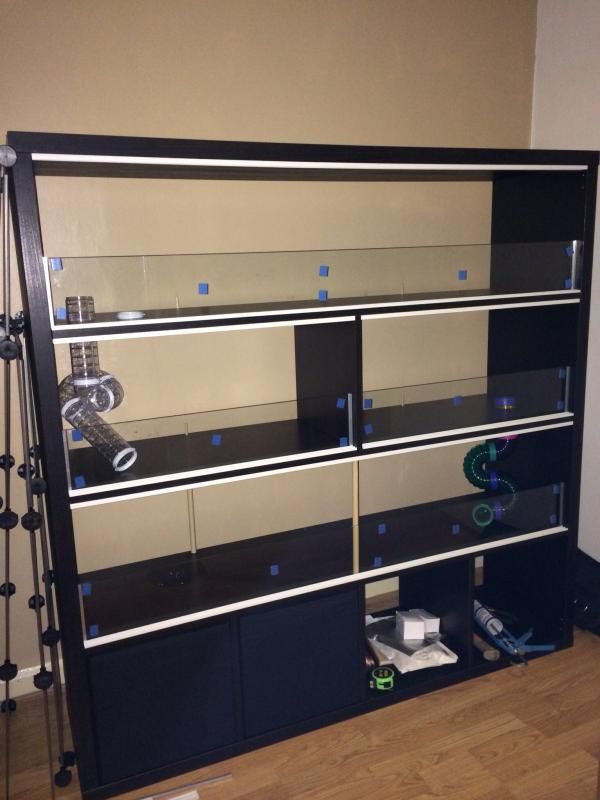
So the shelving unit when fully assembled should look like this:

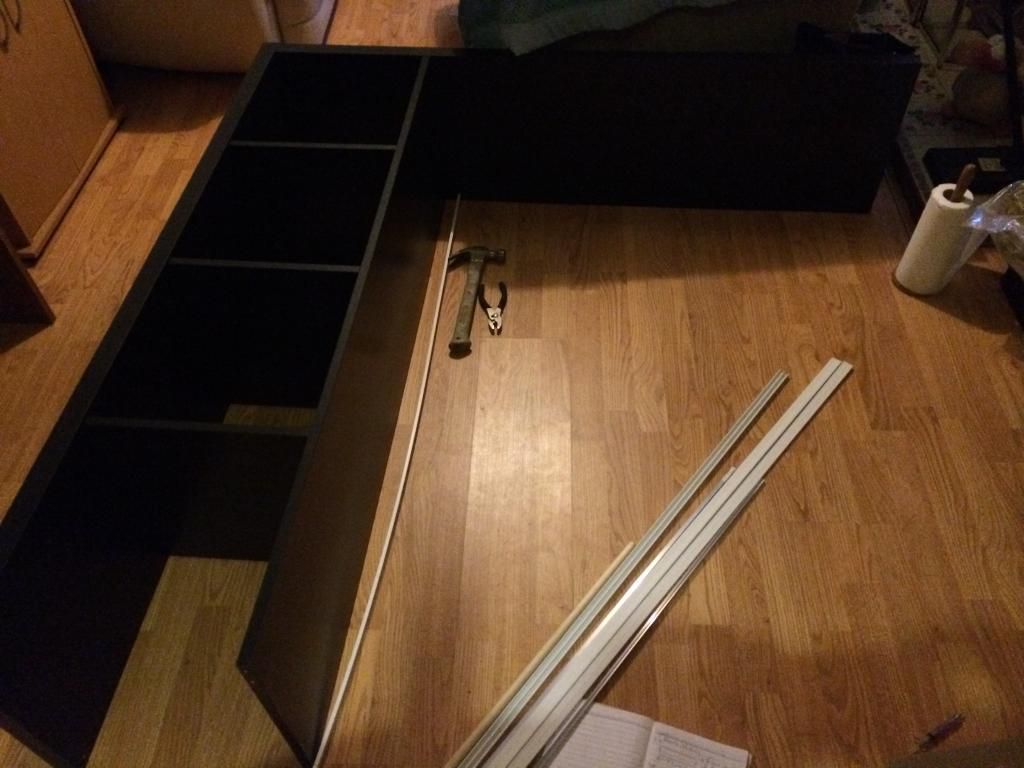
Before assembling you will need to think about how you want the cage to look like, I have decided to build this unit for 2 hamsters, each having an upstairs and a downstairs and with the intentions of the bottom boxes being used as storage. Before assembling any of the shelves you first need to drill out any holes for the hamsters to access each floor or compartment.
You will also need to think about how to seal the front and back so the hamsters cannot escape, I decided to do front glass sliding doors and a clear Perspex/plexiglass back board for easy viewing and with the intensions of being able to change the background picture whenever I please. I also applied a 15cm high piece of glass that runs along the whole length of each floor so when I open the doors the bedding or substrate will not fall out.
The glass sliding doors work by double U channels this style was inspired by vivariums and terrariums. I have designed each glass panel to be able to "pop" out for easy cleaning.
Building up the unit:
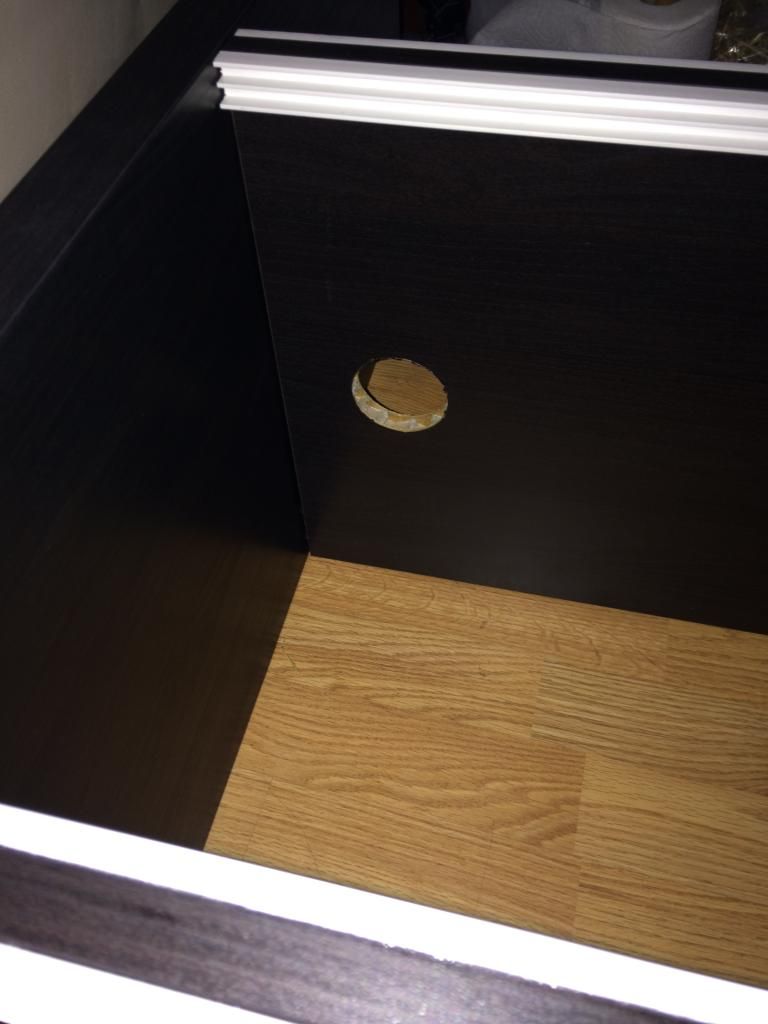
Installed shelf with hole cut out and double U channel fitted:
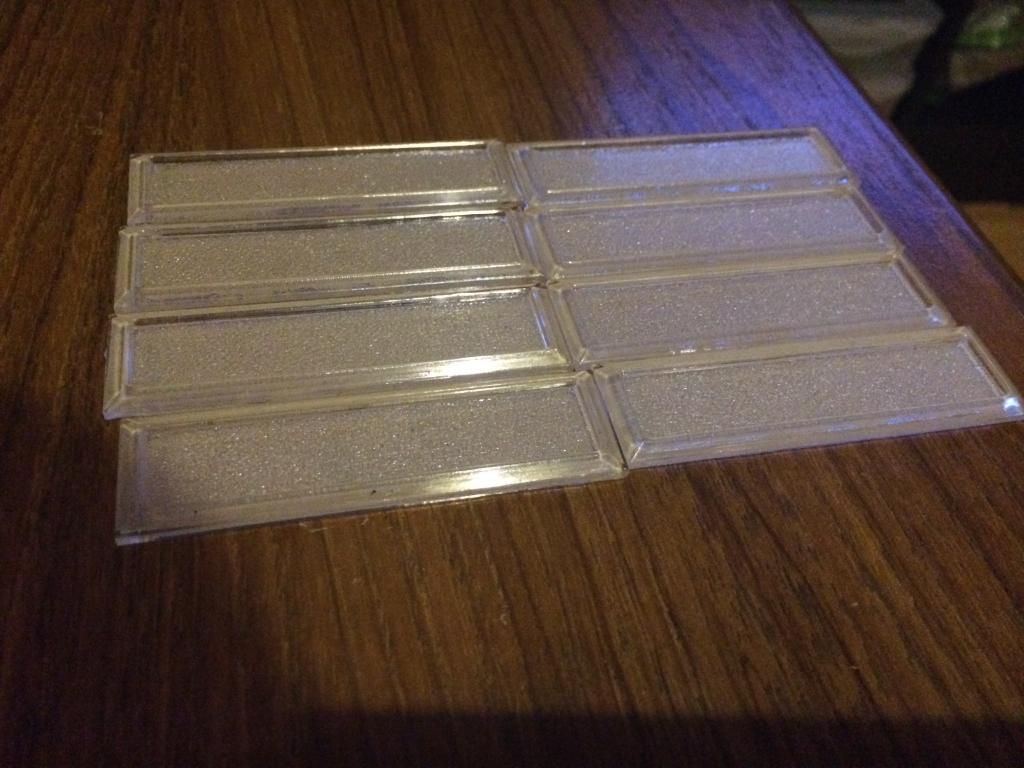
Close up of the double U channel:
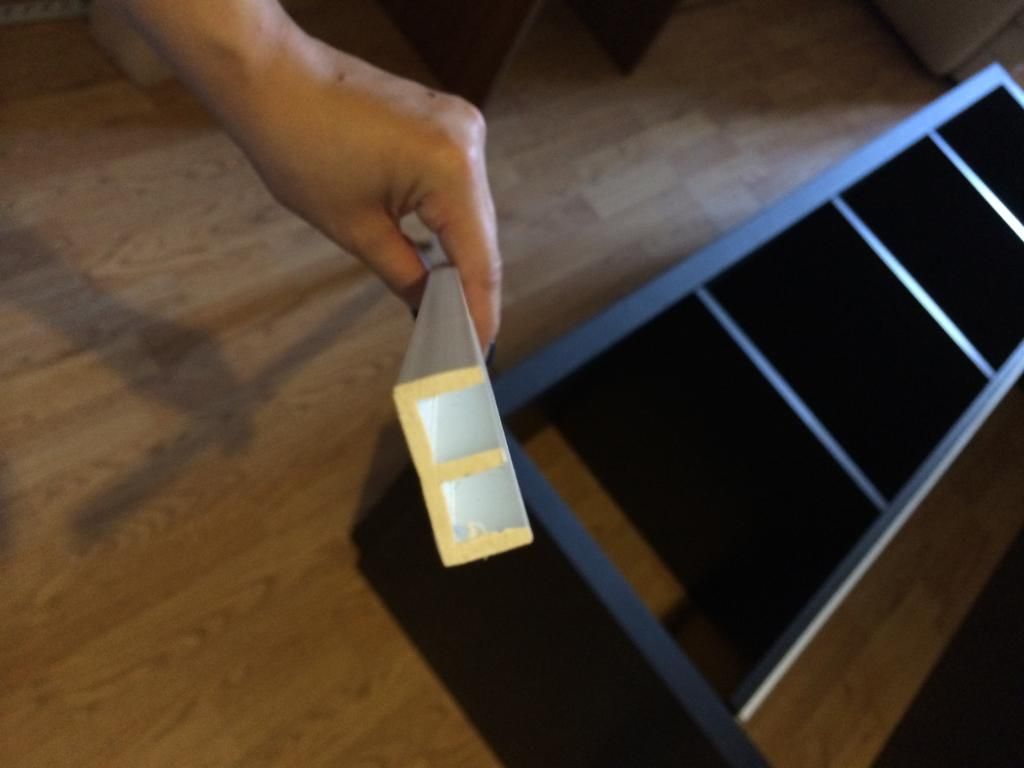
If you want your sliding doors to pop out, you need to make sure you have the top double u channel thicker than the bottom, and double check your measurements before ordering the glass.
Just so you know, I stuck the channels down with non toxic sealant.
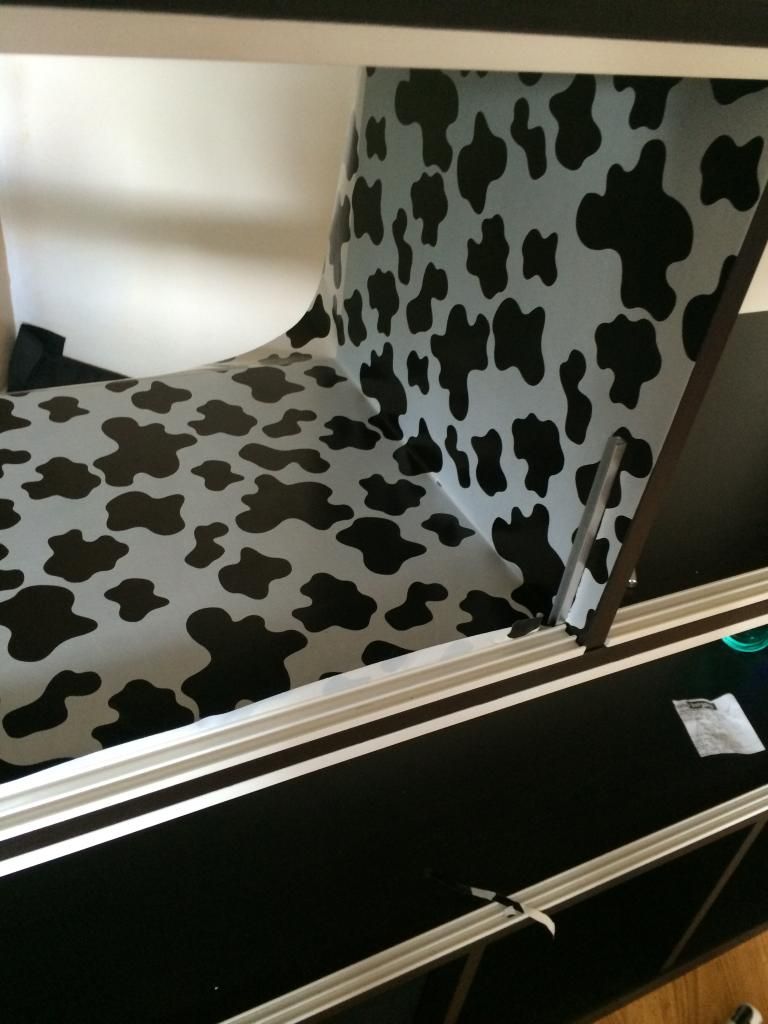
Here is where the unit is all built up without the back board or the doors, at this point you will notice sagging in the middle of the unit, this is where wooden dowels will help to lift the structure and to keep the unit straight.

Once the structure of the unit has been built, I was able to measure the glass sizes which had to be custom cut at my local glass supplier, I had 4mm glass cut but really wish Id done 6mm just so they fit in the double u channels without wobbling so much, but I guess I can change them at a later date. The glass that runs along the length of each floor has been attached by single U channels at each end so they are able to slide out if need be.

Even though the wood is already protected, I decided to line each shelf with this self adhesive film or otherwise known as laminate, vinyl, or contact paper, just to make sure everything is waterproof. I did originally want clear, but I couldnt resist the pattern style
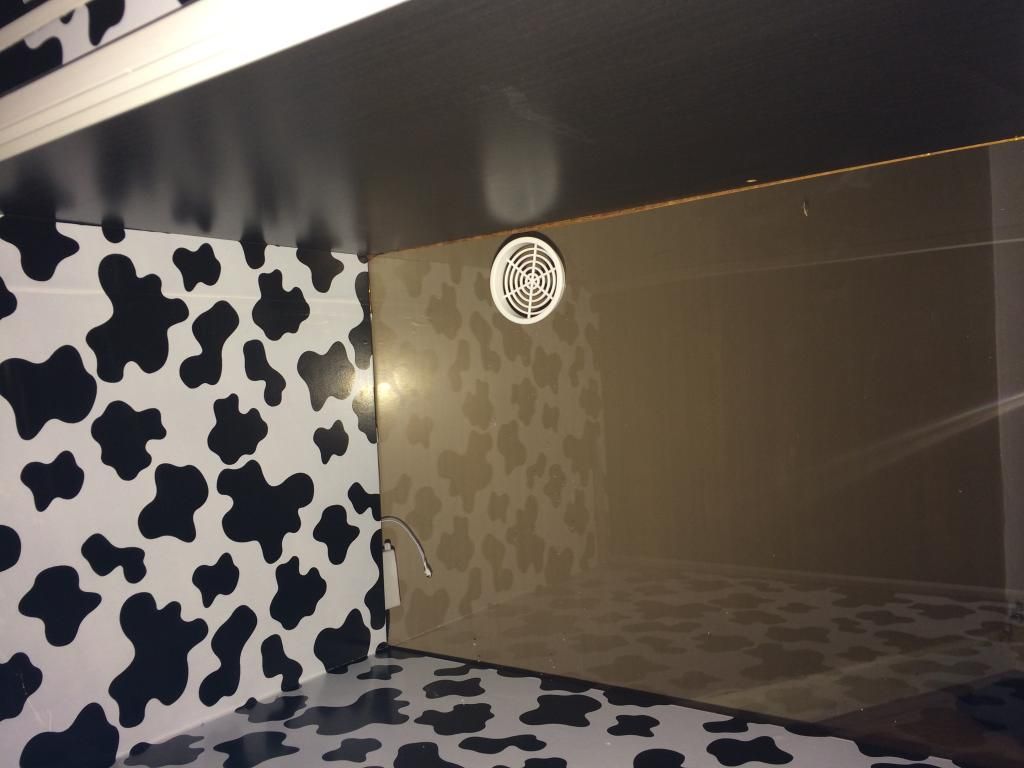
I took this time to think about ventilation before installing the clear Perspex or plexiglass on the back of the unit. Going back to the vivariums and terrariums inspiration, I noticed vent holes on the back of a particular unit I was looking at, after a quick look on ebay I picked a pack of these vents up, and the best bit was that they needed the same size hole drilling out as ones I cut out for the access to each floor, so I didnt have to buy a new hole saw.
With some help we were able to drill the holes for the vents and screw in the plexiglass on the back of the unit.
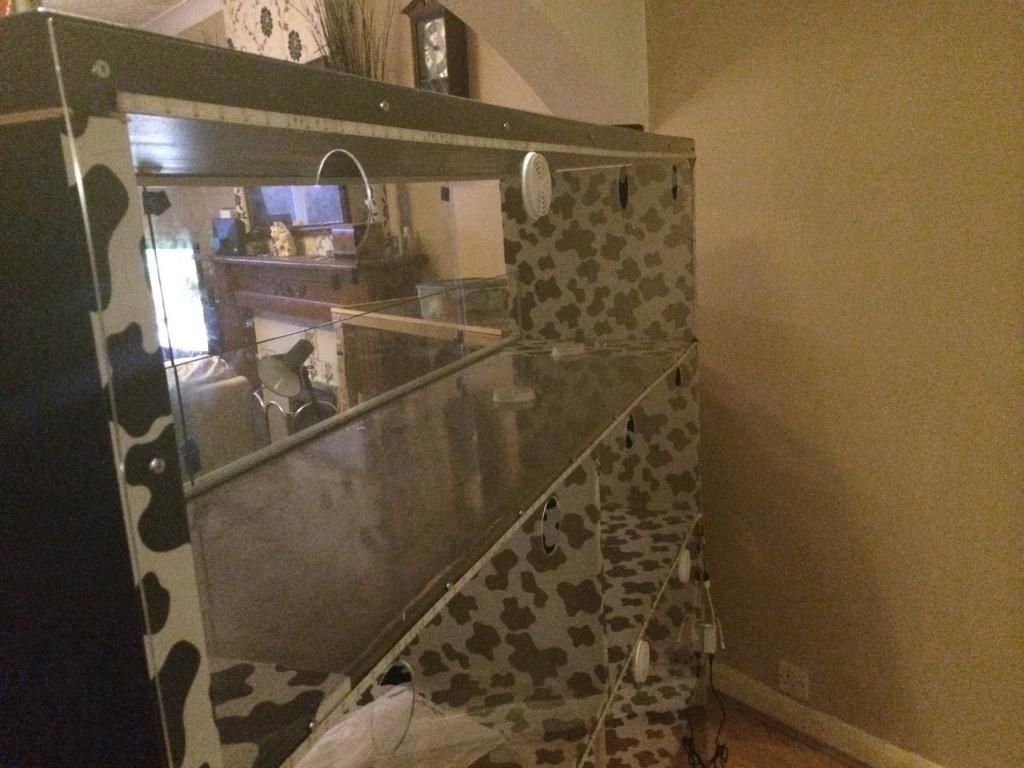
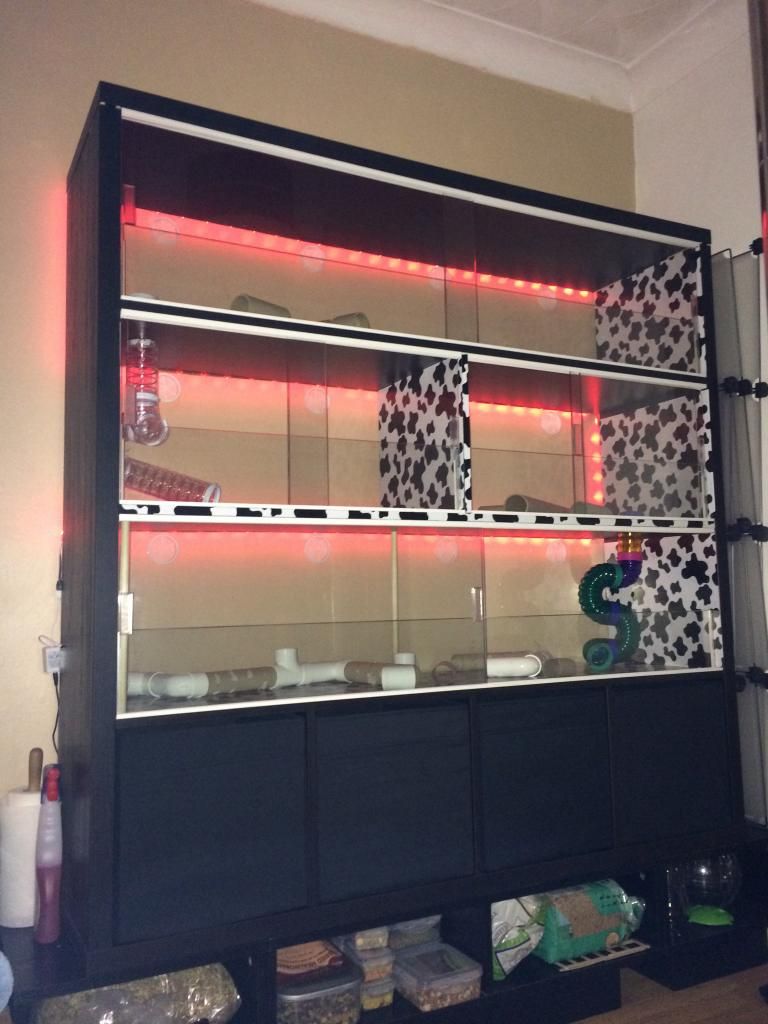
The handles for the glass I also picked up very cheap off ebay, and to finish off I installed LED lighting behind the unit for easy viewing.
All finished with the lights on:


 Linear Mode

