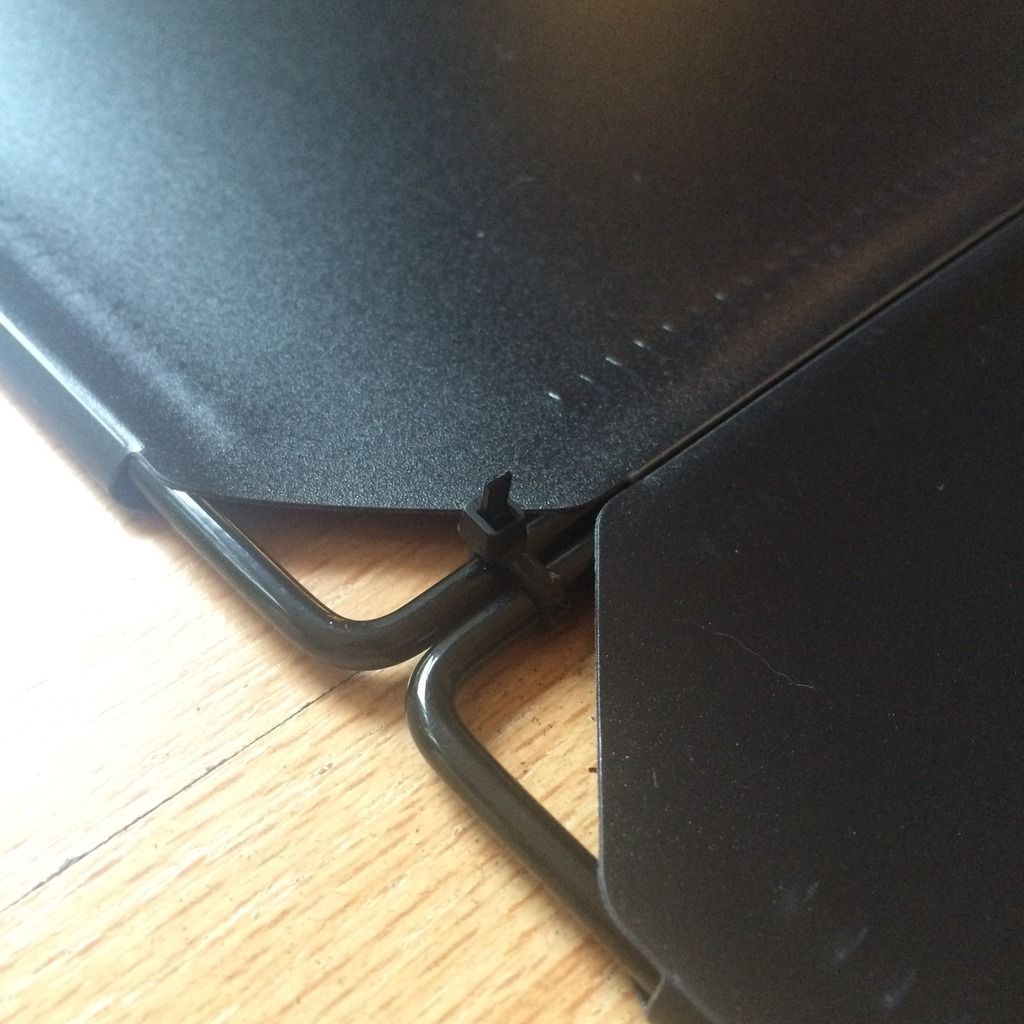
So I came across a youtube video which had a really nice looking playpen than the person build but it didn't give a descriptive tutorial on how to put this playpen together so I thought I'd do a step-by-step guide for you all.
It is not my original idea, as I said I saw it on youtube. This is the video if you're interested

(Please read on for the step-by-step guide)
Video -
https://www.youtube.com/watch?v=3SKo0B_X8io
I haven't had this playpen for long, but it looks really nice and it's quite simple to put together. The hamsters can't escape from this, it's quite tall and made from plastic so they can't climb out.
It costs less than £20 to build, I already had some of the equipment you need, so it cost me £17.
What you need:
- 30 (estimate) small zip ties.
- Interlocking storage cubes -
http://amzn.eu/0eTQ5Av or
http://amzn.eu/eGgWHOe
- Tape (I used electrical black tape)
- Scissors
- 2 pegs
- A large space!
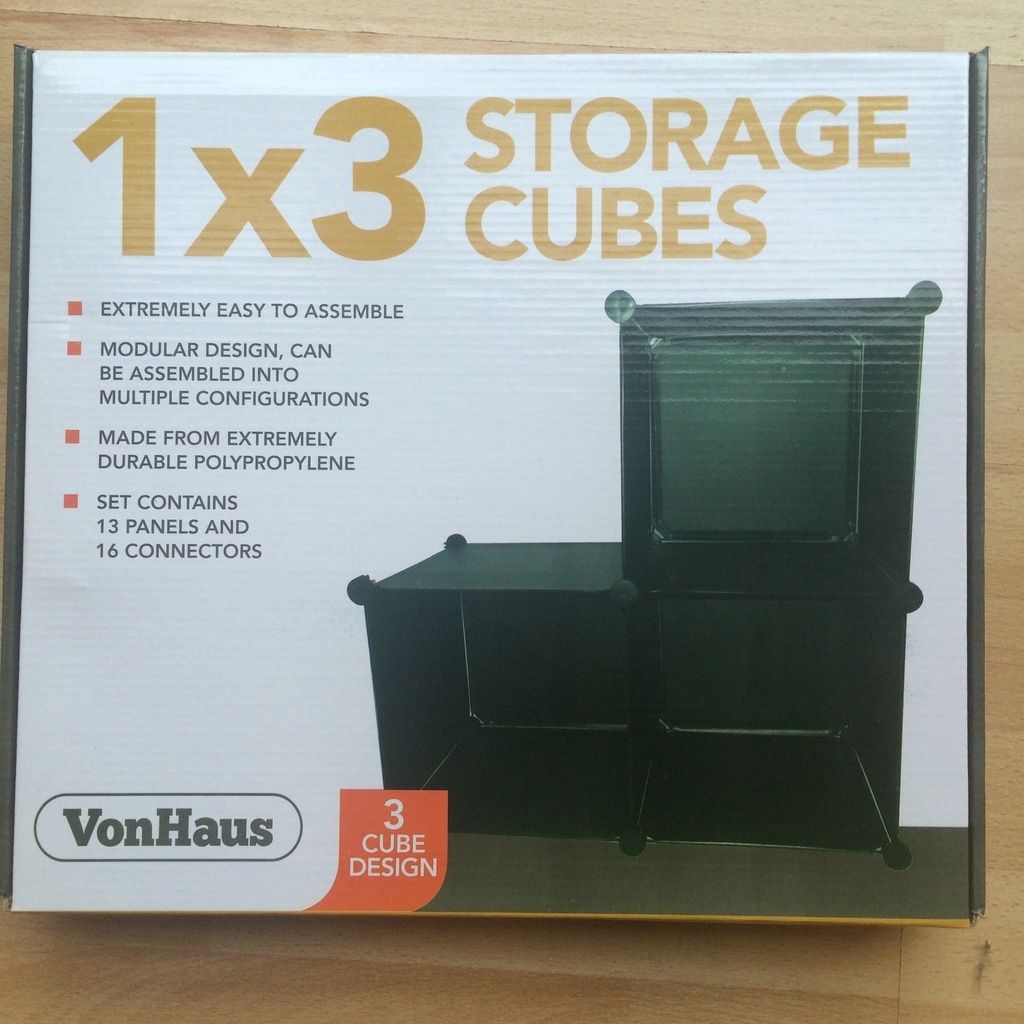
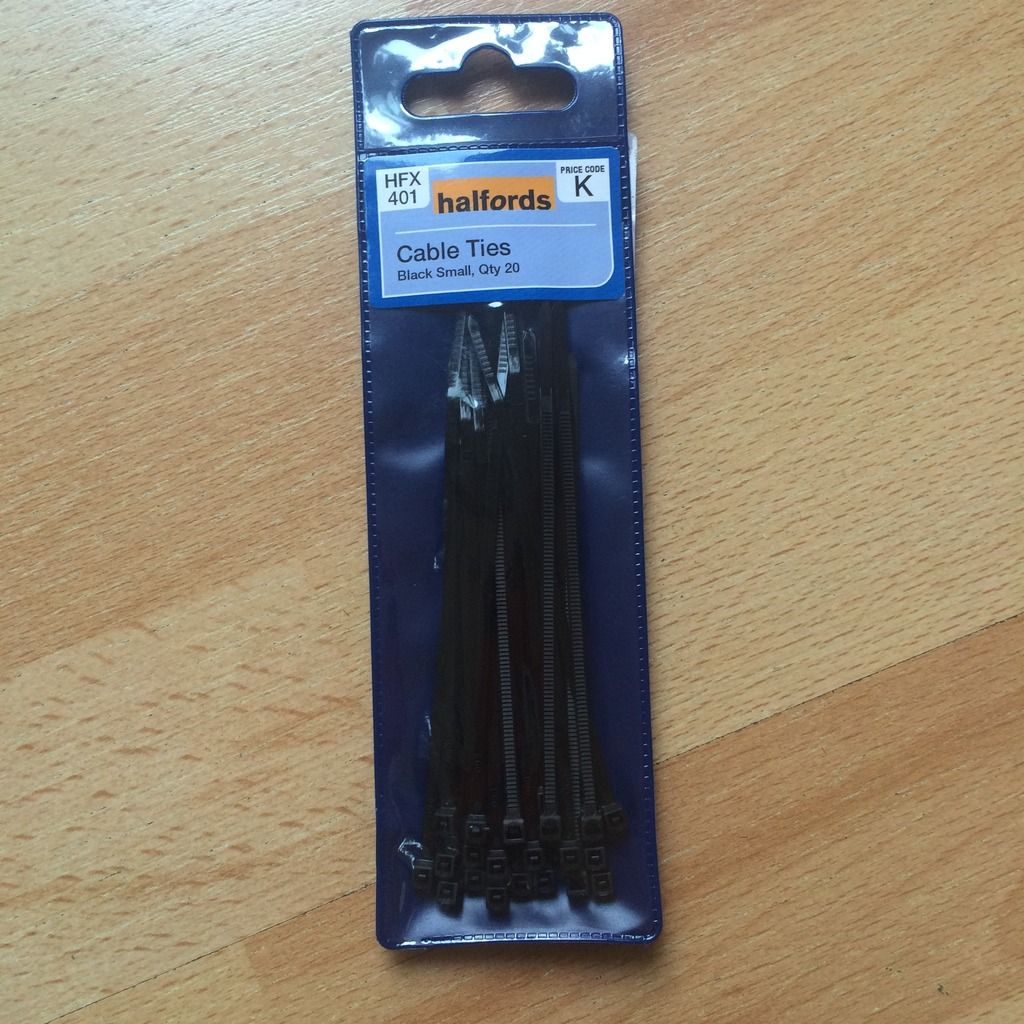
This is the box the cubes come in, it arrived within a day when ordering off of amazon so I really recommend it! I also got two packets of 20 small zip ties.(I tried rotating the image but it's not worked for some reason!)
 You need to lay each panel by the side of each other like this;
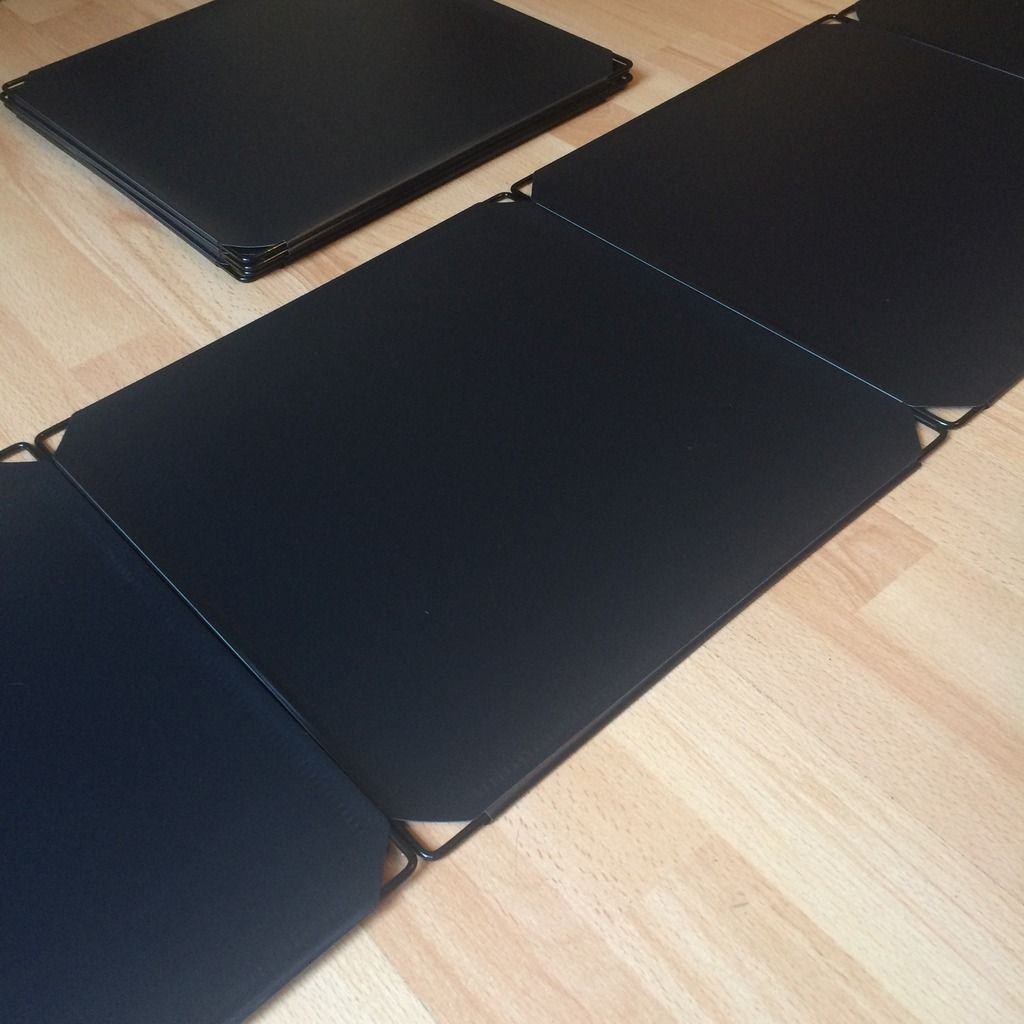 Make sure that they are facing the way the left one in this image is facing.
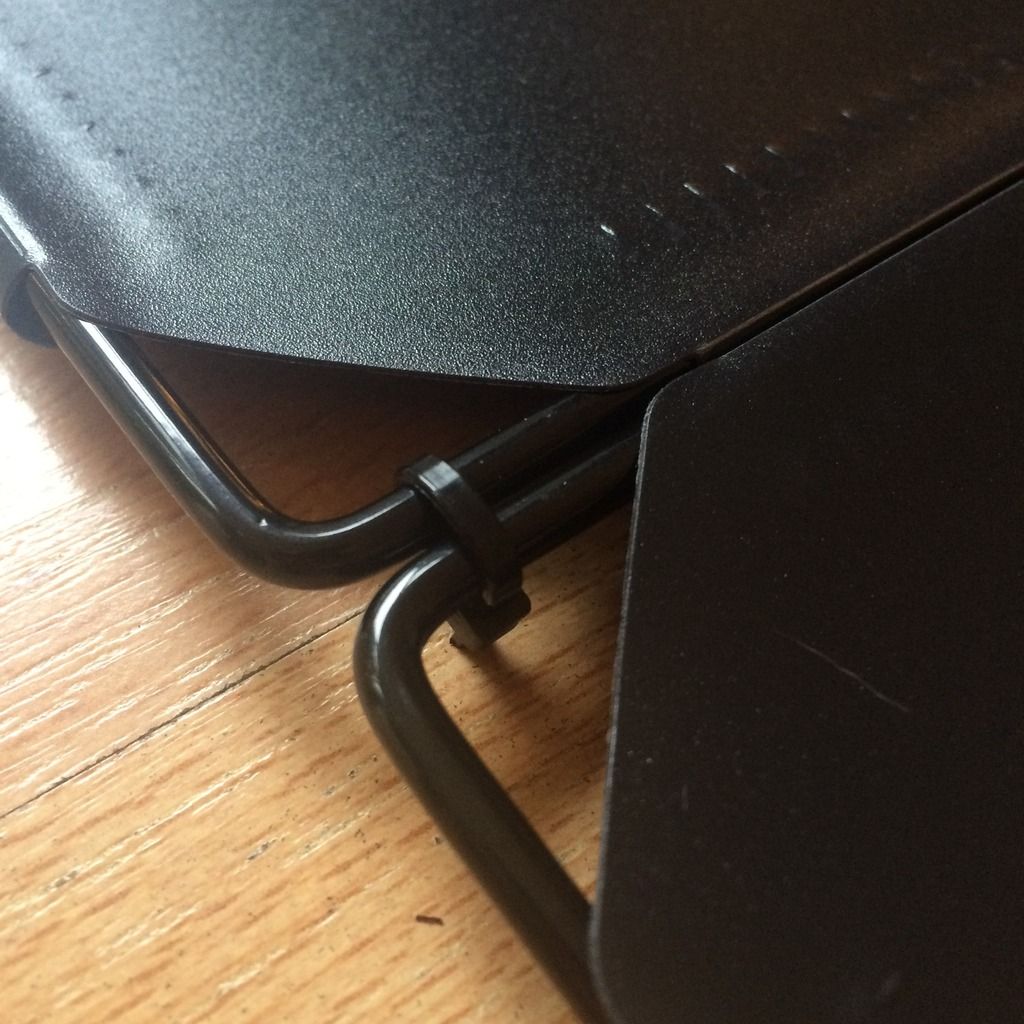
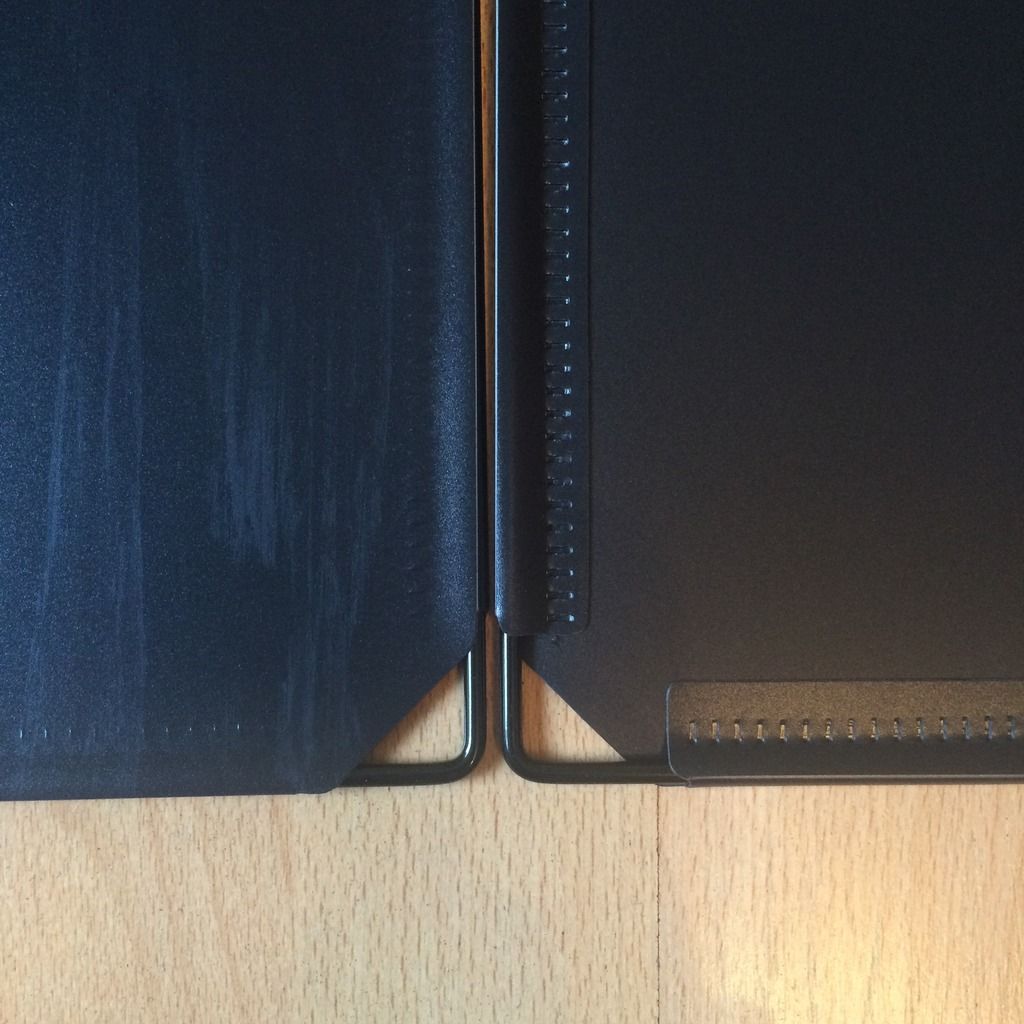 Then you need to zip tie top and bottom together on each side, make sure you do it as tight as it goes.
 (Do it on all of the squares, when finished it should lay out in a very long line of squares that are tied together.)
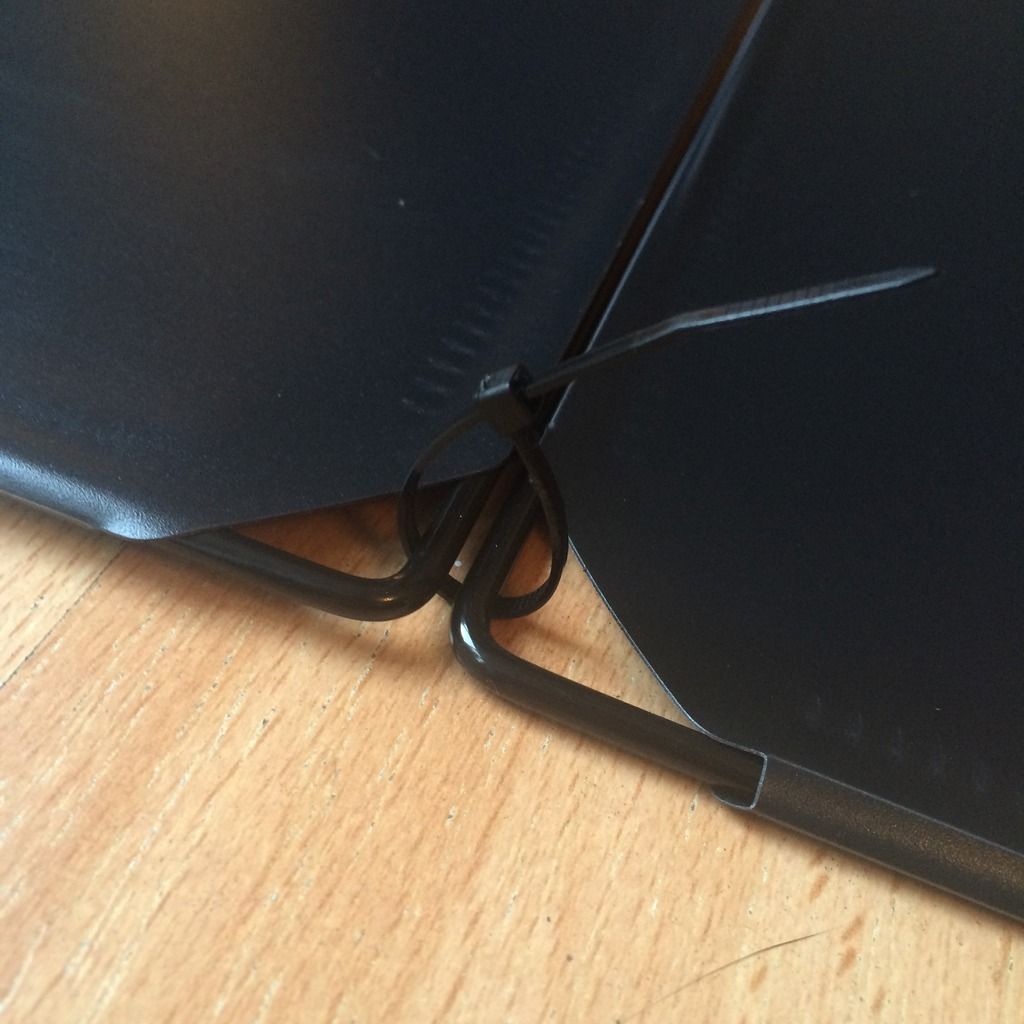
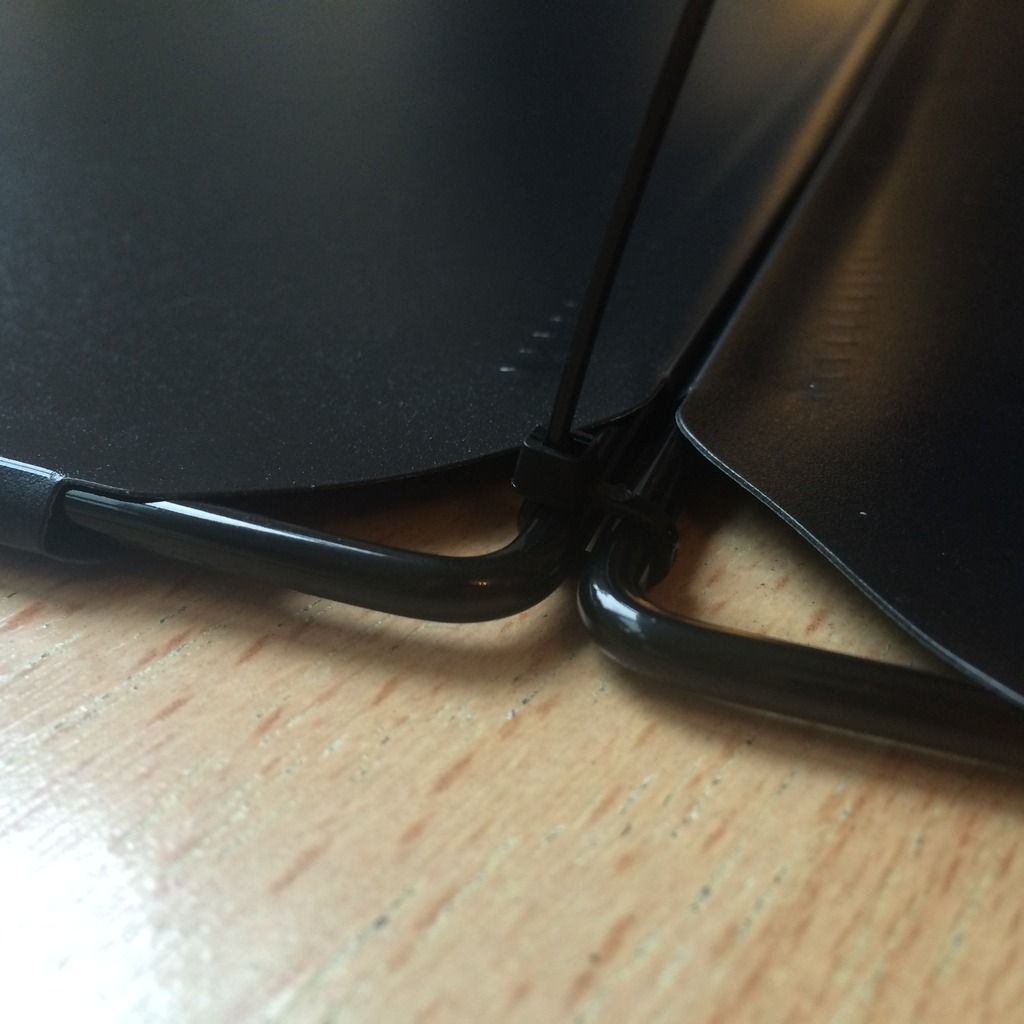 Cut the excess off of the zip ties and turn it around so it is facing the floor.
